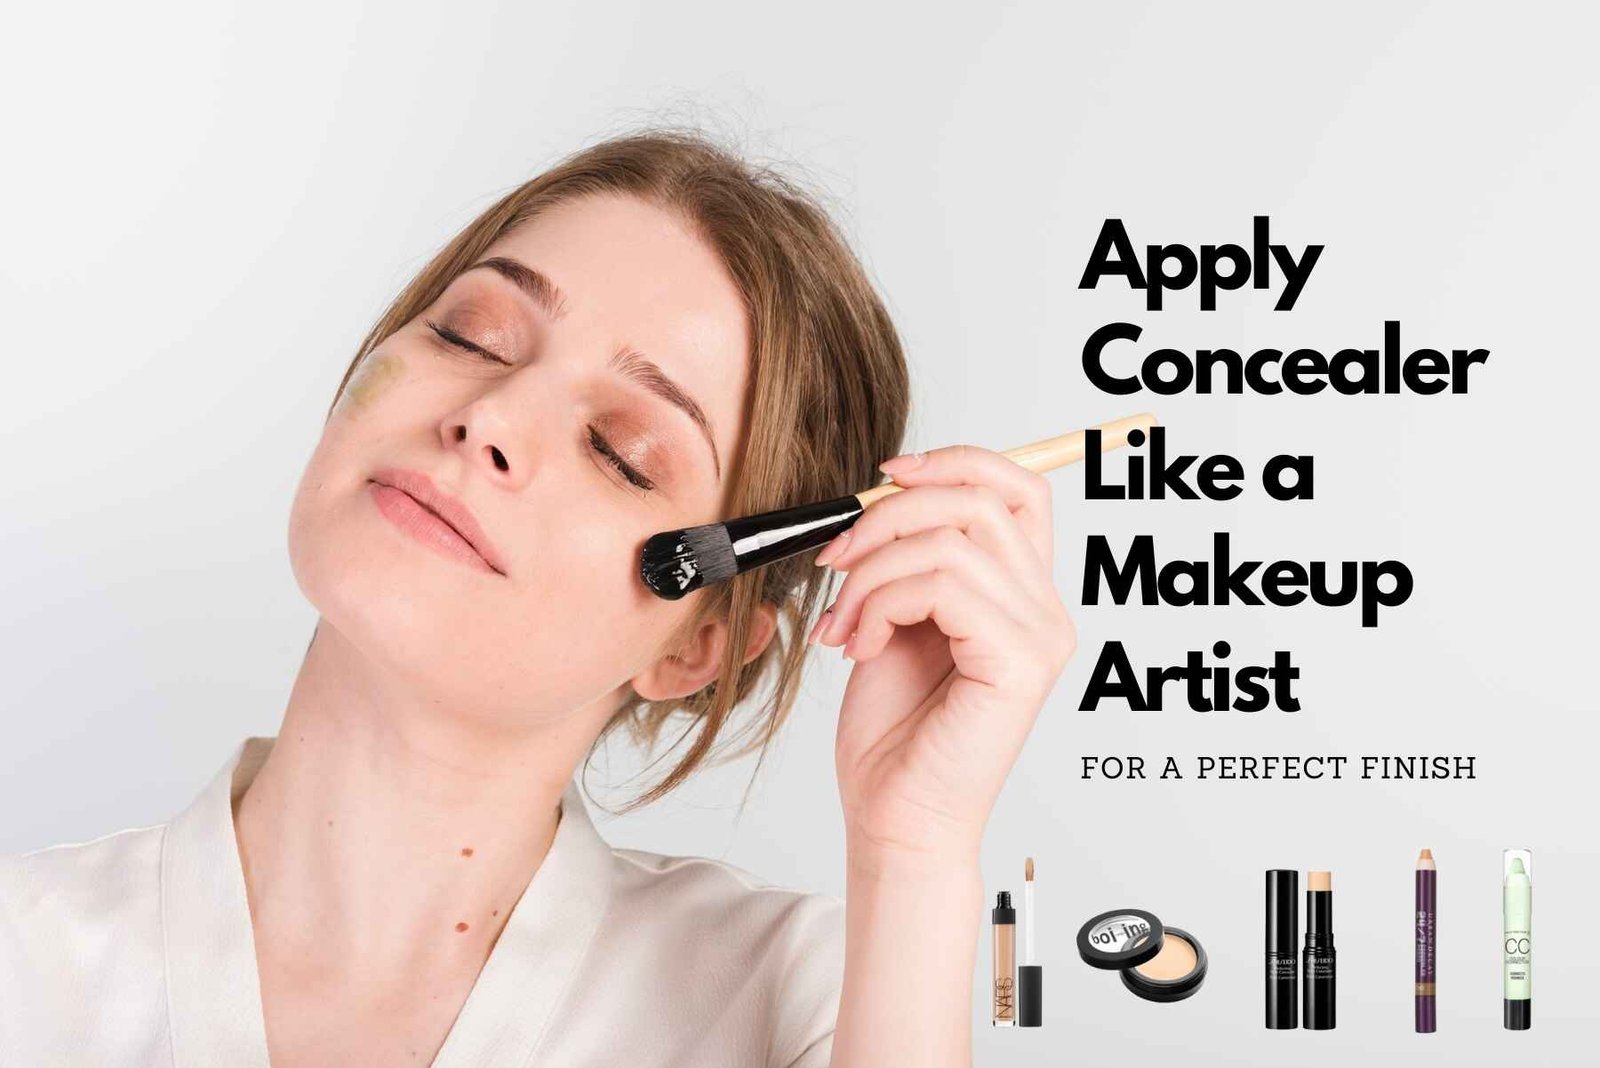
How to Apply Concealer Like a Makeup Artist: Pro Tips for Flawless Coverage
Concealer is a multi-purpose product that can help achieve a smooth and flawless finish when applied correctly. Whether you’re aiming to conceal dark circles, blemishes, or hyperpigmentation, concealer is an essential tool for a perfect makeup routine. Knowing how to apply concealer like a makeup artist can transform your skin’s complexion, giving you the confidence of full coverage without looking cakey or overdone. In this detailed guide, we’ll cover everything from concealer techniques, the best concealer application tools, and how to conceal imperfections, to expert tips and tricks to give you the professional look you desire.
Let’s dive in!
Quick Steps: Applying Concealer
To ensure a flawless, professional concealer application:
- Start with clean, moisturized skin.
- Pick liquid, cream, or stick concealer based on your needs.
- Use a lighter shade for dark circles and a matching shade for blemishes.
- Even out your skin tone with foundation before applying concealer.
- Use a little concealer to avoid a cakey look.
- Apply concealer to dark circles, blemishes, or redness.
- Blend well with a damp beauty blender or brush.
- Set with powder to prevent creasing and ensure long wear.
- Build coverage gradually without over-applying.
- Use a beauty blender or synthetic brush for blending.
- Set under the eyes with powder to prevent creasing.
The Importance of Concealer in Your Routine
Concealer is more than just a tool for hiding imperfections. It can brighten the under-eye area, smooth out your complexion, and even sculpt your face when applied properly. Professional makeup artists often use concealer as a versatile tool to manipulate light, creating the illusion of flawless, even skin. Whether you’re preparing for a special event, daily wear, or an Instagram-worthy makeup look, the right concealer techniques can elevate your makeup game.
While foundation provides an overall coverage, concealer targets specific imperfections such as dark circles, blemishes, and hyperpigmentation. When used correctly, it can provide full coverage and a natural finish that doesn’t look heavy or cakey. The key is in strategic application and understanding which formulas and shades work best for your skin type and complexion.
Understanding Different Concealer Types and Their Uses
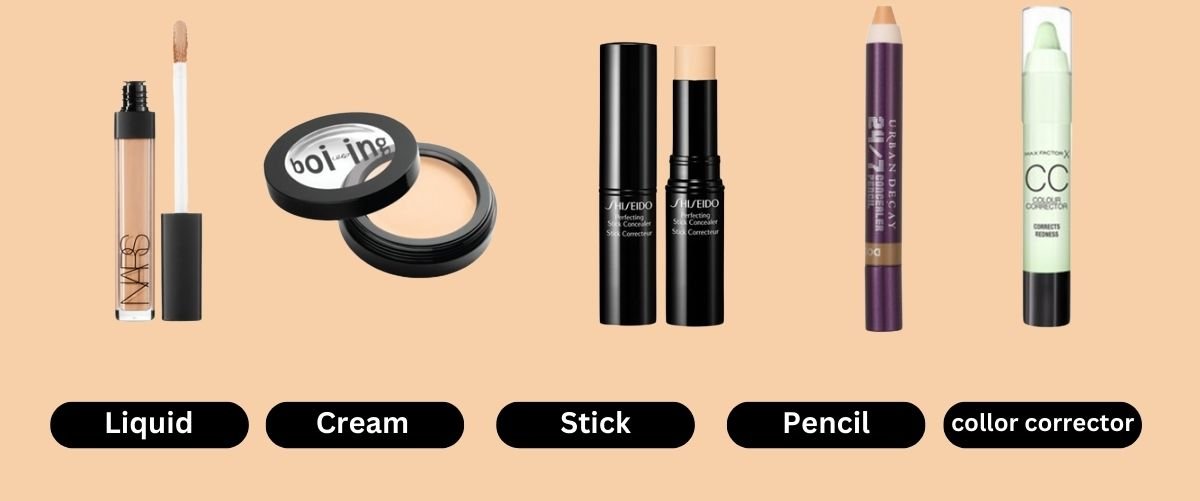
Not all concealers are created equal. Each type of concealer serves a different purpose, and selecting the right formula for your needs is essential. Here are the main types of concealers and their specific uses:
- Liquid Concealers: Liquid concealers are often the most versatile. They come in various formulations, including those designed for hydration, buildable coverage, or full coverage. They work well for blemishes, dark circles, and hyperpigmentation. Look for formulas like NARS Creamy Concealer or YSL All Hours Creaseless Concealer for a smooth, natural finish that blends effortlessly.
- Stick Concealers: These are ideal for targeting specific areas of your face, such as blemishes, acne scars, or any imperfections. Stick concealers offer full coverage and are often thicker in consistency, which makes them perfect for spot concealing. Cle de Peau Beauté Concealer is a luxury option with long-lasting coverage that works wonders for more serious imperfections.
- Cream Concealers: Known for their thicker, more opaque consistency, cream concealers are best for covering dark circles or hyperpigmentation. They provide a more full-coverage solution and work especially well for individuals with dry skin. Trinny London Concealer is a great option that provides a creamy texture for seamless blending.
- Hydrating Concealers: If you have dry skin or need something more moisturizing for the under-eye area, hydrating concealers are the way to go. Products like Tower 28 Hydrating Serum Concealer are designed to provide coverage while keeping the skin hydrated. This is ideal for under-eye concealing, where the skin is thinner and more prone to drying out.
- Matte Concealers: For those with oily skin, a matte concealer can help control shine while still providing full coverage. These formulas are designed to stay in place all day, ensuring that your concealer doesn’t slide off or get oily. NARS Soft Matte Complete Concealer is a great option for this purpose.
Understanding the different concealer formulas and their intended uses is key to achieving flawless skin.
How to Choose the Right Concealer Shade
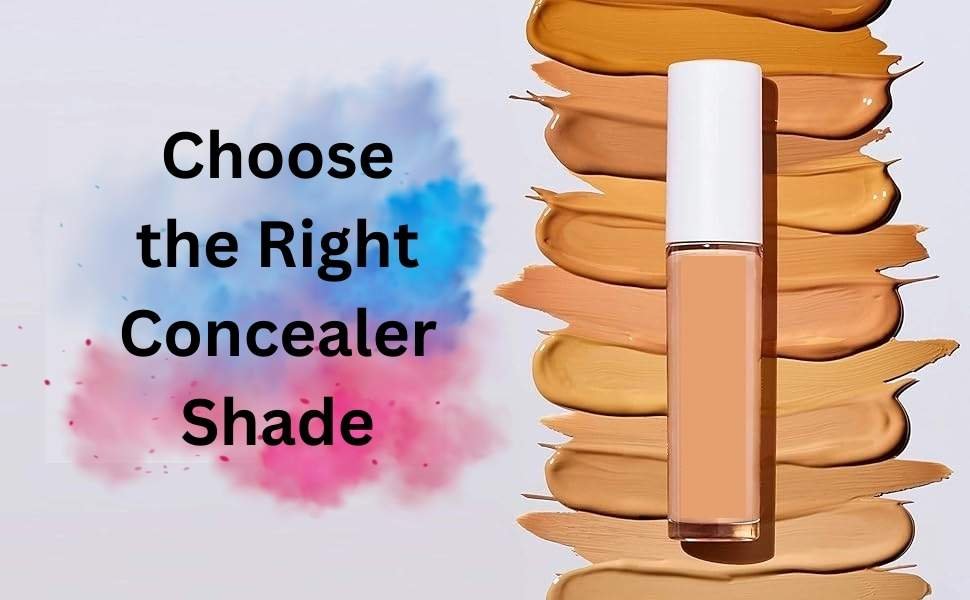
Choosing the right concealer shade is crucial for ensuring that your concealer blends seamlessly into your complexion. Using the wrong shade can create a harsh contrast, making your imperfections more noticeable rather than concealing them.
- For Under Eyes: The under-eye area is delicate, and you want to choose a concealer that not only matches your skin tone but also helps brighten the area. Go for a concealer that’s one to two shades lighter than your natural skin tone to brighten dark circles. Look for light-reflective formulas that help illuminate this area, like YSL All Hours Creaseless Concealer.
- For Blemishes and Acne Scars: When covering blemishes, acne scars, or hyperpigmentation, you want a concealer that matches your skin tone as closely as possible. If you’re covering redness, use a green-tinted concealer to neutralize the tone before applying your regular concealer. Cle de Peau Beauté Concealer provides great coverage for blemishes and works well for hyperpigmentation
- For Sculpting and Contouring: If you’re using concealer to sculpt or contour, choose a concealer that is darker than your skin tone. This helps define your cheeks, jawline, or nose. A concealer with a cool undertone is typically best for contouring.
- Undertones Matter: If you have a warm skin tone, go for yellow or peach-toned concealers. For a cool skin tone, pink-toned concealers work best. Neutral undertones can usually wear a variety of shades, but it’s important to match the undertone of your concealer to avoid an unnatural finish.
Knowing how to match your concealer shades to your skin’s undertone is vital for creating a seamless, natural appearance.
Step-by-Step Guide to Applying Concealer Like a Pro
Applying concealer is an art, and with the right concealer techniques, you can transform your look. Whether you are doing your own wedding makeup or hiring a bridal makeup artist for your big day, here’s a detailed step-by-step guide to applying concealer like a professional:
Step 1: Prep Your Skin
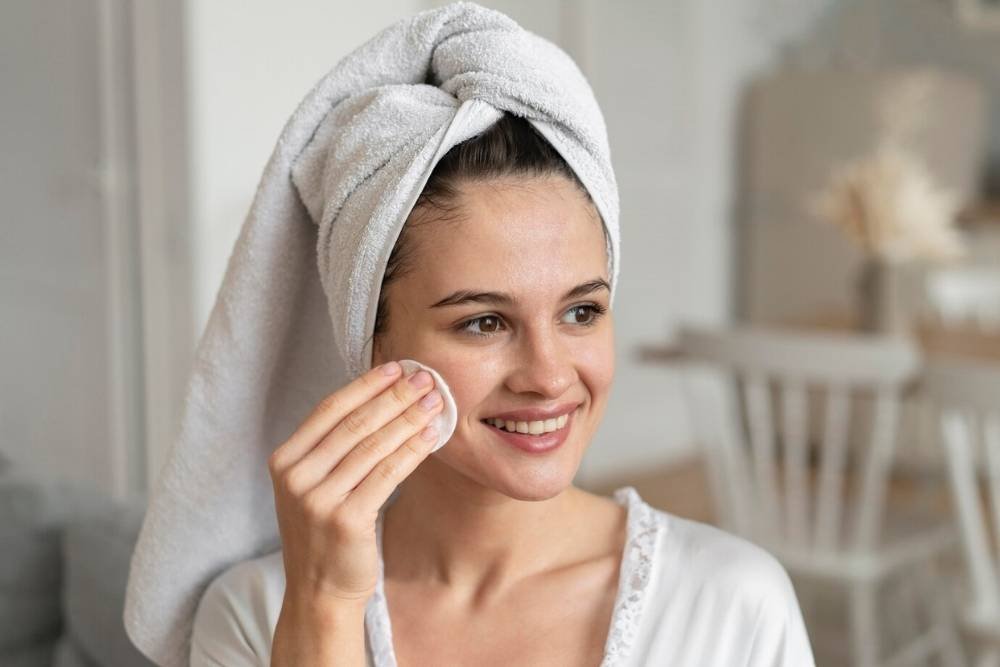
Before you apply concealer, ensure your skin is well-prepped. Use a cleanser to remove any impurities from the skin and follow with a hydrating moisturizer. This will create a smooth base for your makeup. If you have oily skin, use a mattifying primer like Tatcha The Liquid Silk Canvas to control shine and ensure your concealer stays in place.
For dry skin, a richer moisturizer is essential, such as Lancôme Hydra Zen, to keep your skin hydrated and ensure that your concealer doesn’t settle into fine lines or dry patches.
Step 2: Apply Foundation First
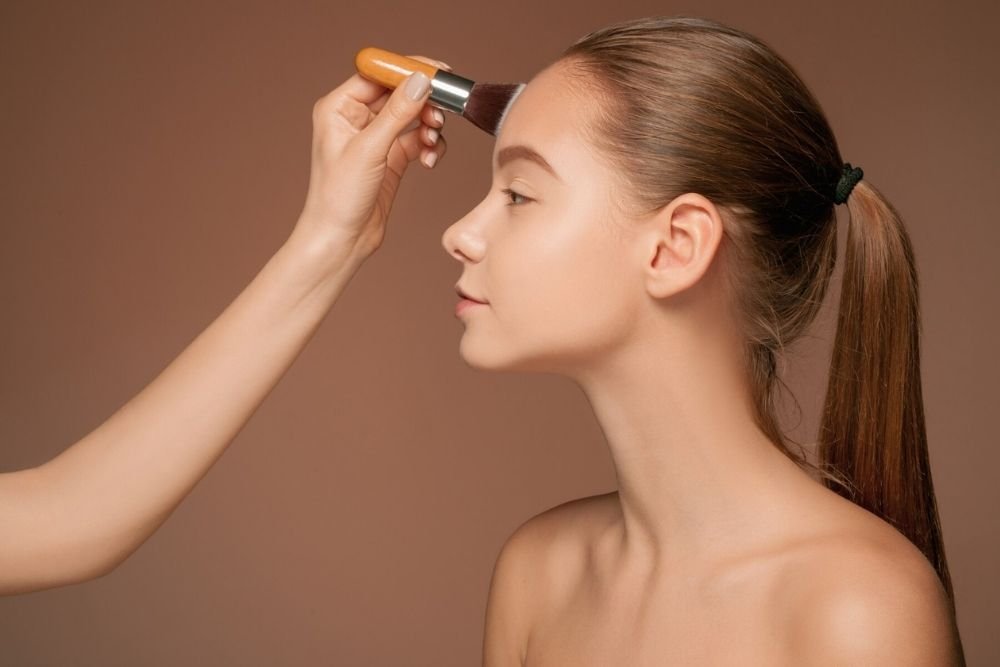
The next step is applying your foundation. Use a buildable coverage foundation that matches your skin tone. Applying foundation first helps even out your complexion and creates a smooth base for your concealer. When applying foundation, focus on the central parts of your face, like your forehead, cheeks, and chin.
Step 3: Apply Concealer Strategically
Once you’ve applied your foundation, it’s time to tackle the areas that need extra coverage.
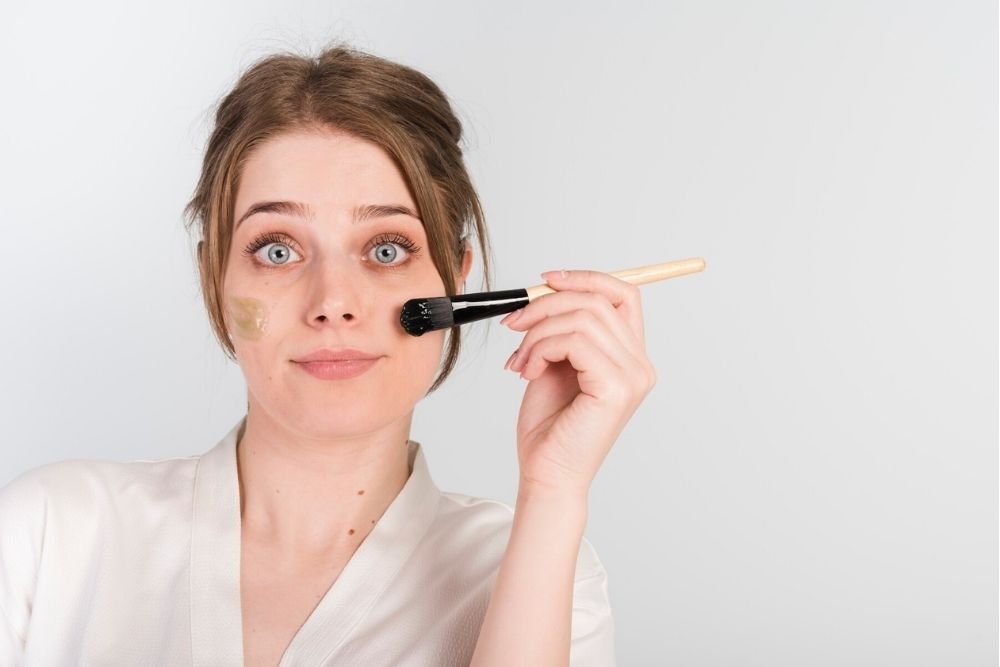
- For Dark Circles: Apply concealer in a triangle shape under your eyes, starting at the inner corner and blending outward. This shape helps brighten the entire area, lifting the eye and reducing the appearance of dark circles.
- For Blemishes: Use a full-coverage concealer that matches your skin tone and apply it directly to the blemish or acne scar. Tap and press gently with your fingers or a concealer brush to blend the product seamlessly into the skin.
Related: Ultimate Guide to Airbrush Makeup: Achieve a Flawless Finish
- For Hyperpigmentation: Apply a peach-toned concealer to the areas of hyperpigmentation to neutralize the discoloration. Follow up with a concealer that matches your skin tone to blend everything together.
Step 4: Blend, Blend, Blend
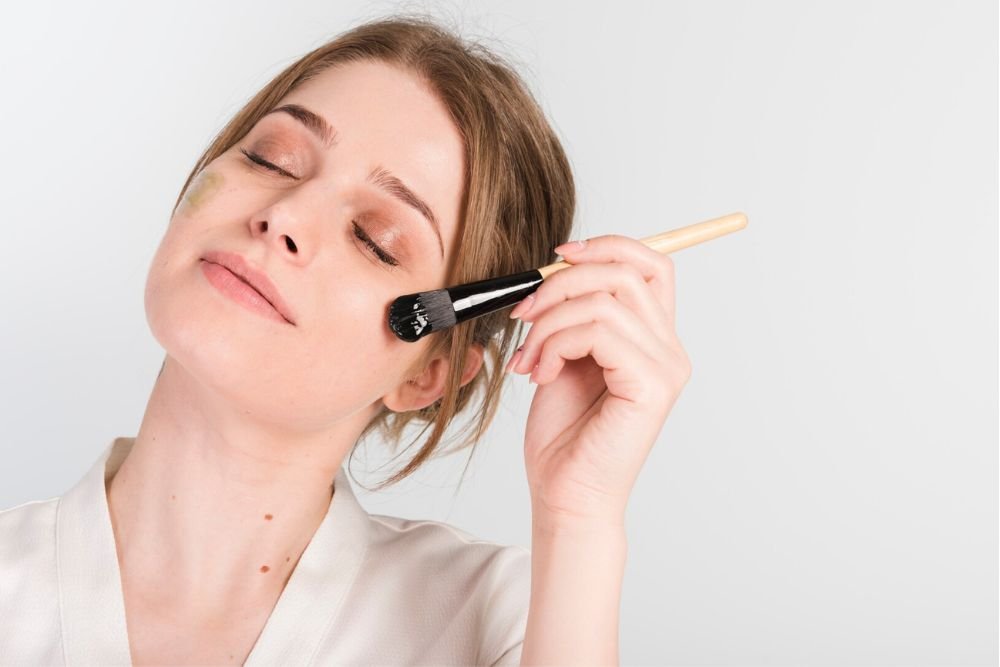
Blending is the key to a flawless finish. Use a damp beauty blender or a synthetic brush to gently tap and blend the concealer into your skin. Don’t rub the product in, as this can disrupt your foundation underneath. Instead, tap and pat to ensure the concealer settles smoothly.
Step 5: Set with Powder
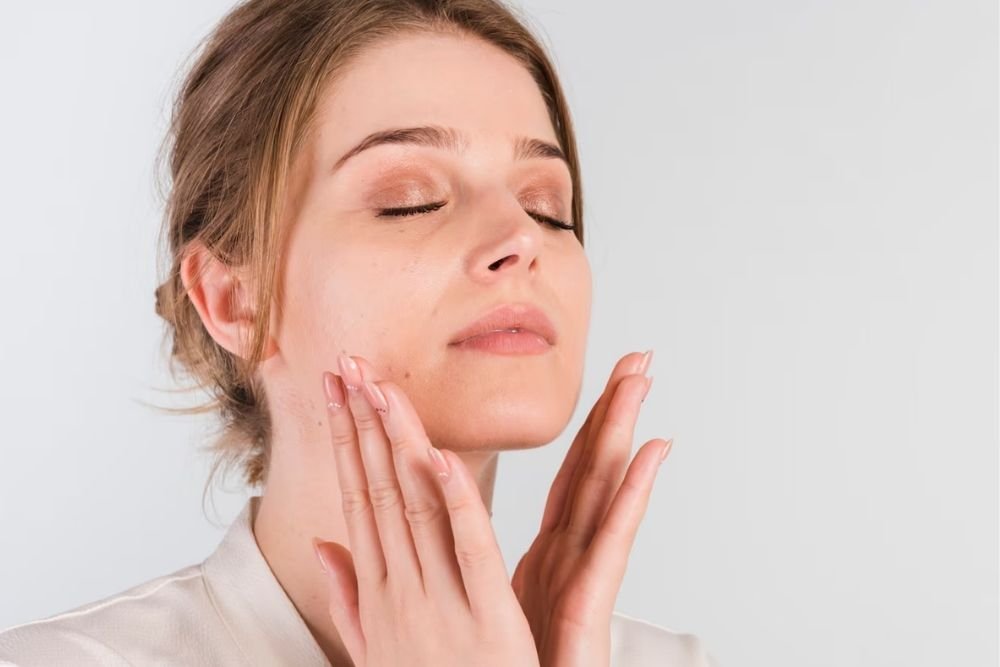
To prevent your concealer from creasing, set it with a translucent setting powder. A light dusting of powder can help lock everything in place and give your skin a matte finish. If you have dry skin, make sure to use a hydrating setting powder like Laura Mercier Secret Brightening Powder, which helps avoid the cakey look.
Concealer Tips and Tricks from Professional Makeup Artists
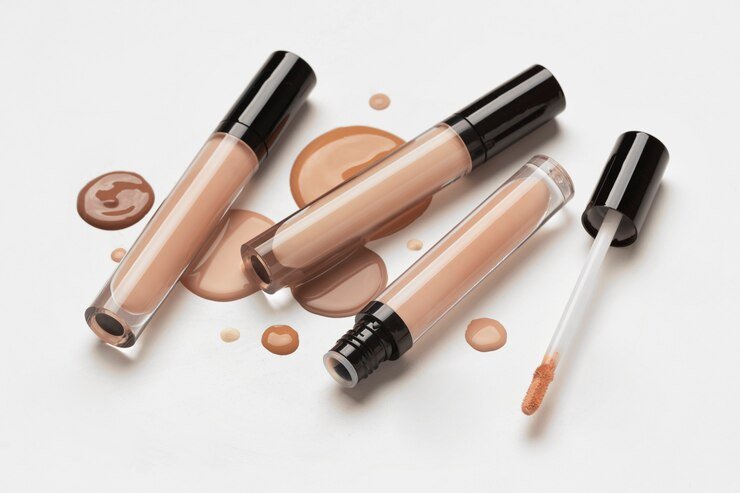
Mastering concealer application is about learning the little techniques that makeup artists swear by. Here are some concealer tips and tricks that will help you perfect your makeup routine:
- Less is More: Start with a small amount of concealer. It’s easier to build up coverage than to remove excess product.
- Don’t Over-Apply: Applying too much concealer can lead to a cakey finish. Apply a thin layer and build up if necessary.
- Use a Damp Beauty Blender: For a natural finish, always blend concealer with a damp beauty blender to avoid disturbing the layers underneath.
- Set with Powder: Setting your concealer with a light dusting of translucent powder helps keep it in place and prevents creasing.
Best Concealer Application Tools
To achieve a flawless finish, using the right concealer application tools is essential. Here are the best tools to enhance your concealer application:
- Damp Beauty Blender: A damp beauty blender is perfect for blending concealer under the eyes and around the nose area, giving you a seamless look.
- Synthetic Brush: A synthetic concealer brush is great for precise application, especially for blemishes or acne scars.
- Your Fingers: Applying concealer with your fingers helps warm up the product, allowing for a more natural finish.
Common Concealer Mistakes and How to Avoid Them
Concealer mistakes are easy to make, but once you’re aware of them, you can easily avoid them. Here are some common mistakes and how to fix them:
- Choosing the Wrong Shade: If you choose a concealer that’s too light, you’ll end up with ashy patches. Always match your concealer to your skin tone or go one shade lighter for under-eye concealing.
- Not Setting Concealer: Failing to set concealer with a translucent powder can cause creasing and make your imperfections more noticeable.
FAQs: Everything You Need to Know About Concealer
How do I apply concealer under my eyes?
To apply concealer under eyes, choose a light-reflective formula that’s one to two shades lighter than your skin tone. Apply it in a triangle shape for brightening.
How can I cover acne scars with concealer?
Use a full-coverage concealer that matches your skin tone. Apply it directly to acne scars, then blend gently with a concealer brush.
9. Conclusion: Mastering the Art of Concealer Application
By understanding the different types of concealers, choosing the right shade, and following the step-by-step application guide, you can achieve a flawless finish that looks natural and professional. Remember to blend well, use the right tools, and apply strategically for a seamless look.
Stay Beautiful!

